# Enable Members
Firma supports both free and paid members. By default, users who sign up will automatically be free members and can sign in later with a magic link.
If you set up paid tiers, members who have previously registered for free can pay a subscription to access your website's premium content.
# Member Pages
Sign up
This page is where users can sign up on your site. If they are already free members then they will see the subscription plans you have in place and will be able to pay to become paid members.
Sign in
On this page members of your site will be able to sign in. The only thing they will need is their email address in order to receive a magic link with which to sign in.
Membership
If users visiting this page are not registered or are free members they will see the subscription plans you have in place and will be able to pay to become paid members.
Account
On this page members will be able to view their account details. If they are free members then they will also see a link to go to the page where the subscription plans are shown.
If they are paid members then they will see a list of their subscriptions, each with information such as price, expiration date, payment information and a link to cancel.
Newsletter
On this page any user can enter their email address to receive in their inbox content from your site periodically.
# Set Up
The first thing you need to do to allow members on your site is to enable this feature in the Ghost Admin and connect a Stripe account. In this link (opens new window) you can see in detail what are the requirements and steps to correctly enable it.
Then you have to follow these additional steps:
Step 1
Unzip the theme folder.
Step 2
Head to the Labs page in the Ghost Admin, scroll all the way down and press the Upload routes YAML button, then choose the file routes.yaml that is located in the root of the theme folder.
Step 3
You must now create the following pages in the Ghost Admin:
- Sign up
- Sign in
- Membership
- Account
- Newsletter
To create each page click on Pages in the navigation menu and then click on the New page button.
You can assign any title you want to each page and you don't need to add content to them.
The important thing is that the slug in the URL on each page matches the one on its corresponding page according to the following table:
| Page | Slug |
|---|---|
| Sign up | signup |
| Sign in | signin |
| Membership | membership |
| Account | account |
| Newsletter | newsletter |
For example, this is what the settings in the sign up page should look like:
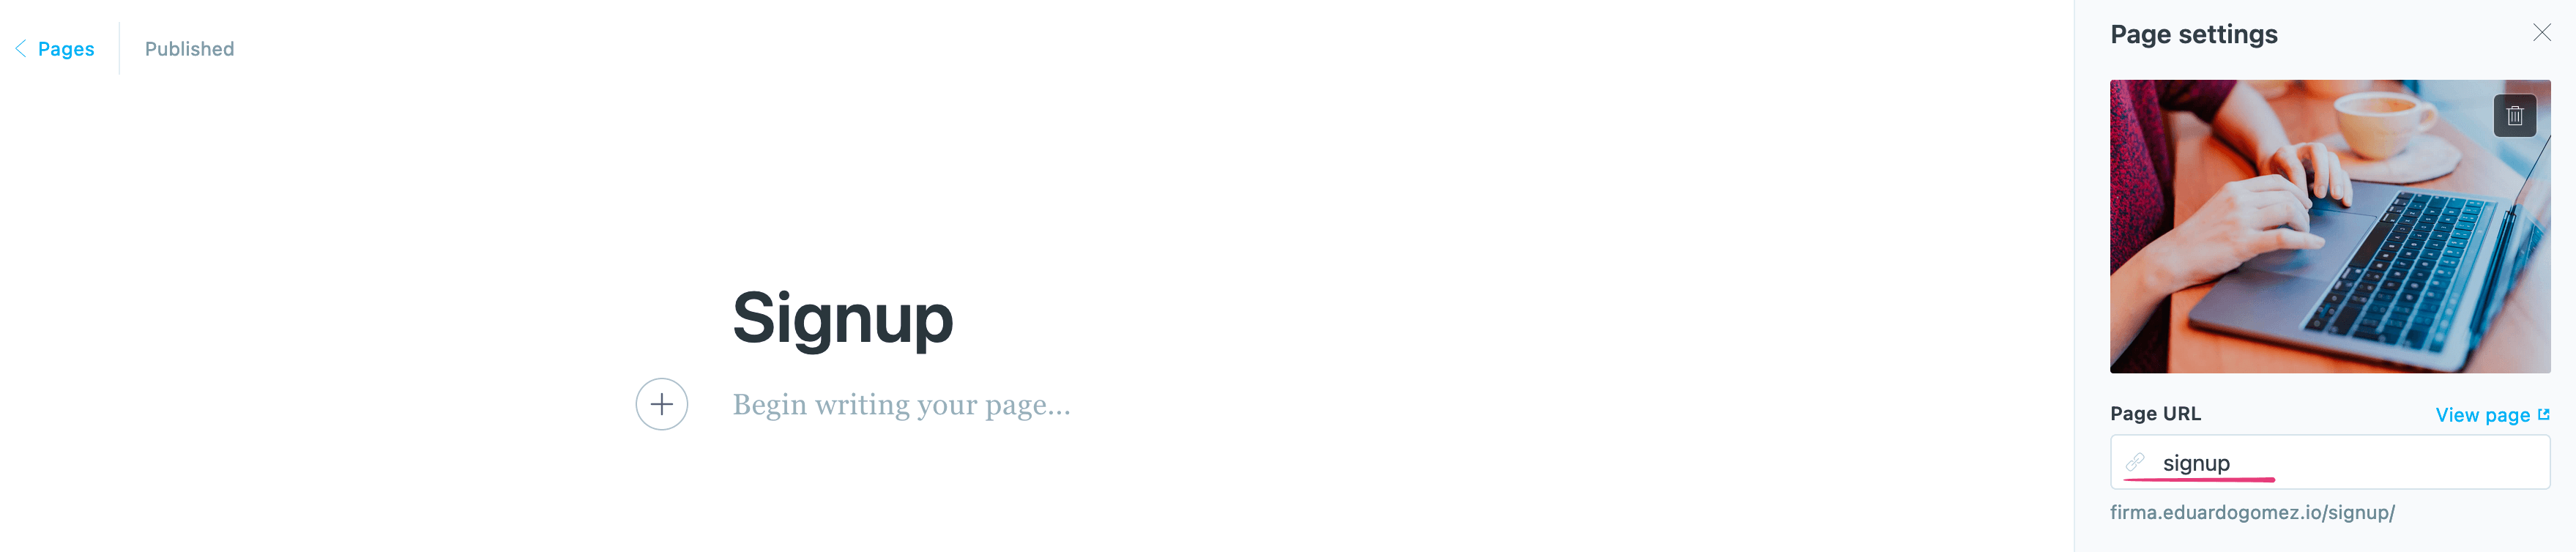
Since Ghost generates the slug automatically based on the page title, you must make sure that the value of the Page URL field matches the one in the table above, otherwise you have to change it manually.
Remember that you have to do this for every page in the list above.
Step 4
The Account, Sign in and Sign up links are automatically included in the main menu, if you also want to have links for the Membership and Newsletter pages you can add the following links in the Navigation section of the Design page in the Ghost Admin:
| Label | Page URL |
|---|---|
| Membership | https://YOUR_SITE_URL/membership |
| Newsletter | https://YOUR_SITE_URL/newsletter |
Don't forget to replace YOUR_SITE_URL with your website's URL.
Please make sure that the last part of each url matches its respective path in the routes.yaml file, otherwise it will not work.
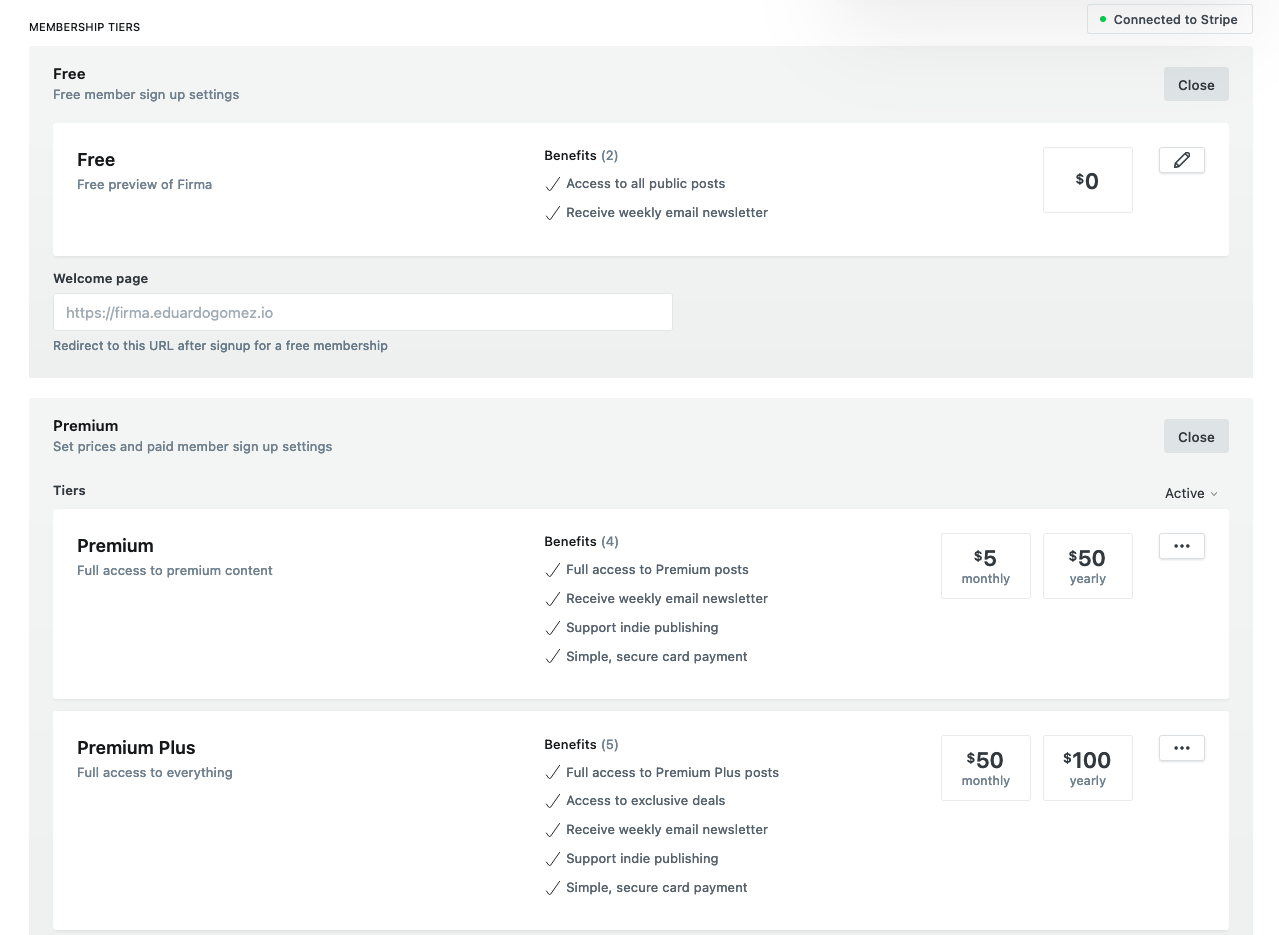
# Membership Tiers
Ghost 5 allows you to offer multiple membership products, each with unique prices, benefits, and content access levels.
A tiered pricing strategy makes it possible to grow your business by offering different products and benefits to your audience.
Firma offers support for Tiers from version 2.5.0, that means that if you use this version or a newer one you will be able to offer your users the different tiers that you configure in the Ghost Admin.
If you want to know how to create and configure your own custom tiers you can check the official documentation (opens new window). Your tiers will be automatically displayed on the Membership page.
# Portal
If you want to use Portal (opens new window) for all Members functionalities instead of the ones provided by the theme you can enable the "Portal for membership experience" option found in the theme settings as shown in the following screenshot:
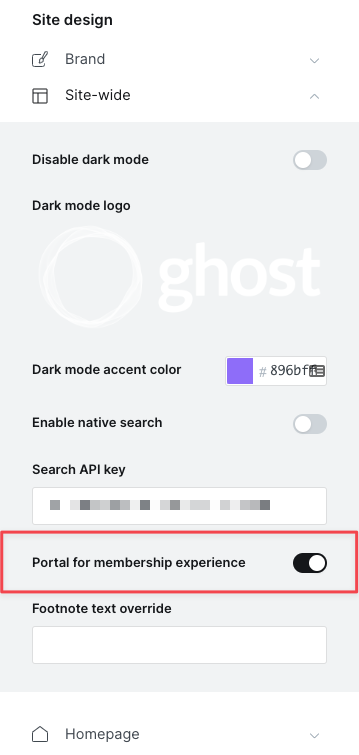
By enabling this option all links and buttons for signup, login, Newsletter, account and other Member related links will show the Portal interface instead of linking to the custom pages that the theme provides.
This also means that if you want to use Portal you don't need to follow the steps described above in the setup section as the theme will use the Portal interface itself that Ghost provides by default.
WARNING
This option is only available if you're using Ghost 4.20.0 or later and Firma 2.8.0 or later.
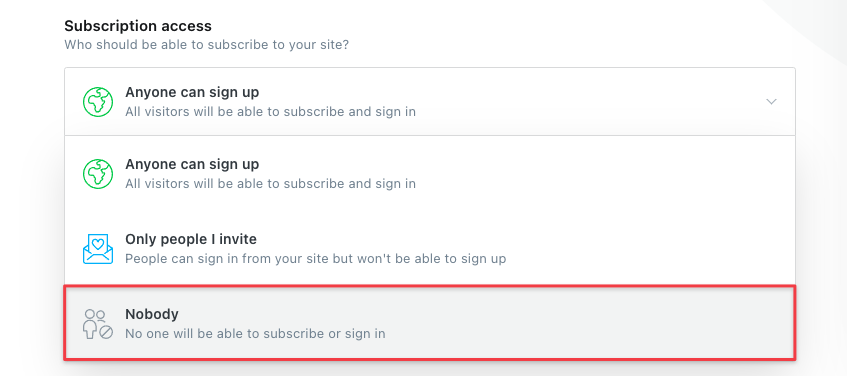
# Disable Members
If you don't want to use any of the Members features you can disable it in the Ghost Admin, to do so just head to the Settings page and then go to Membership, in that page you can choose who should be able to subscribe to your site (Subscription access), in this case you can choose that no one will be able to subscribe or sign in.
When Members is disabled all the sign up and sign in buttons will be removed, also the Newsletter form will be removed.